By Morgan Johnson, Art Room Intern
“I aim to create fun, simple, peaceful images that viewers can relate to and connect with in their own personal ways. I’ve always been attracted to drawing and enjoy the immediate response I can have on a viewer.” — Marz Jr.
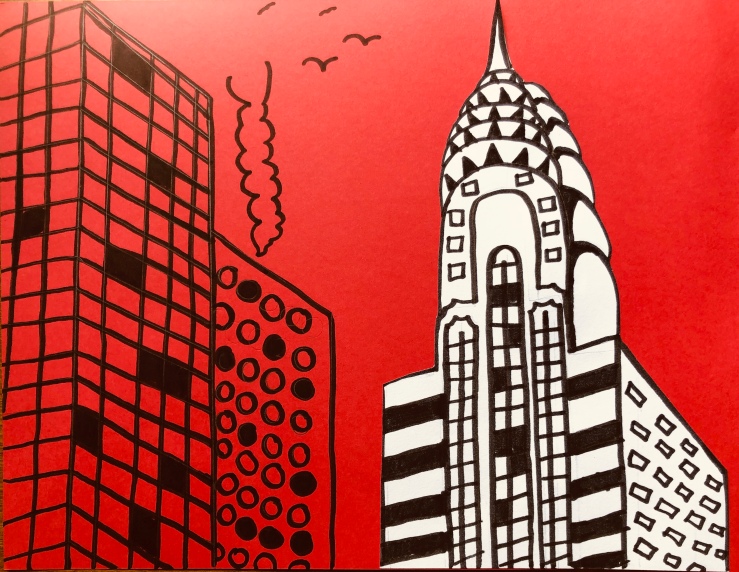
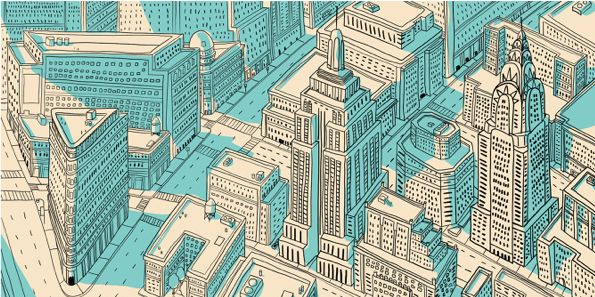
Using the illustrative style of artist Marz Jr. as inspiration, students will create a line drawing by choosing iconic New York City skyscrapers to depict. Students will focus on their use of line, shape, and form by cutting out skyscraper shapes and gluing them to colored paper to create a unique cityscape scene.
Marz Jr. Work Inspiration:
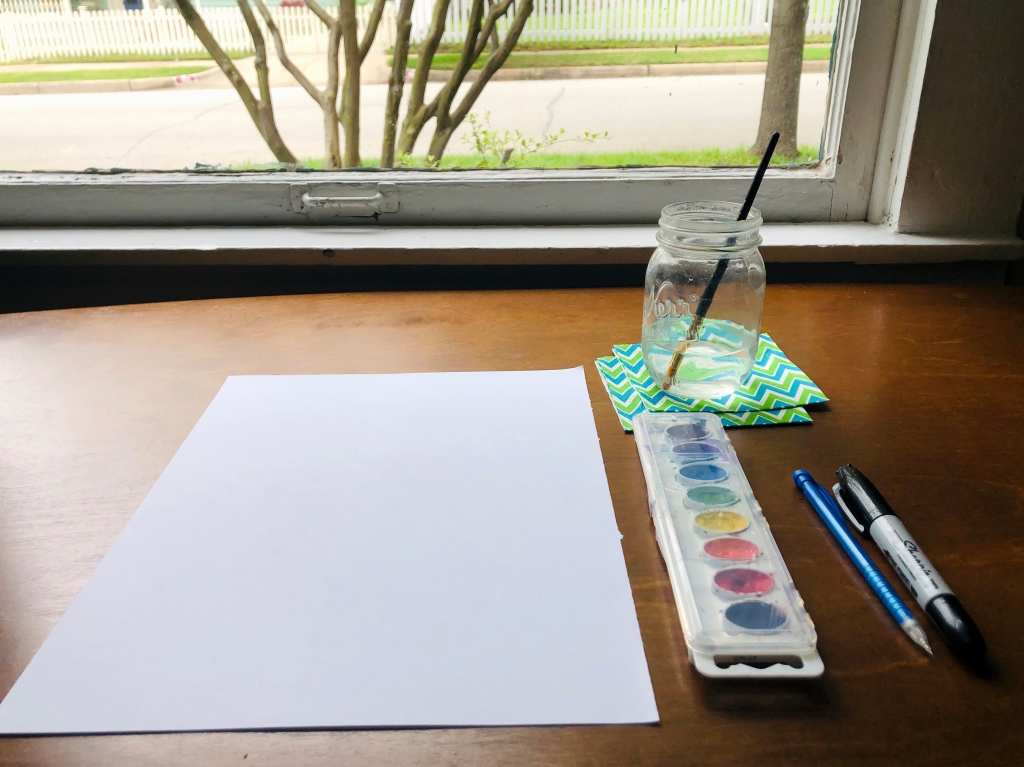
Supply List:
• Images of New York City Skyline for Inspiration
• 1 to 2 Pieces of White Construction Paper
• 1 Piece of Colored Construction Paper
• Pencils
• Black Marker
• Scissors
• Glue

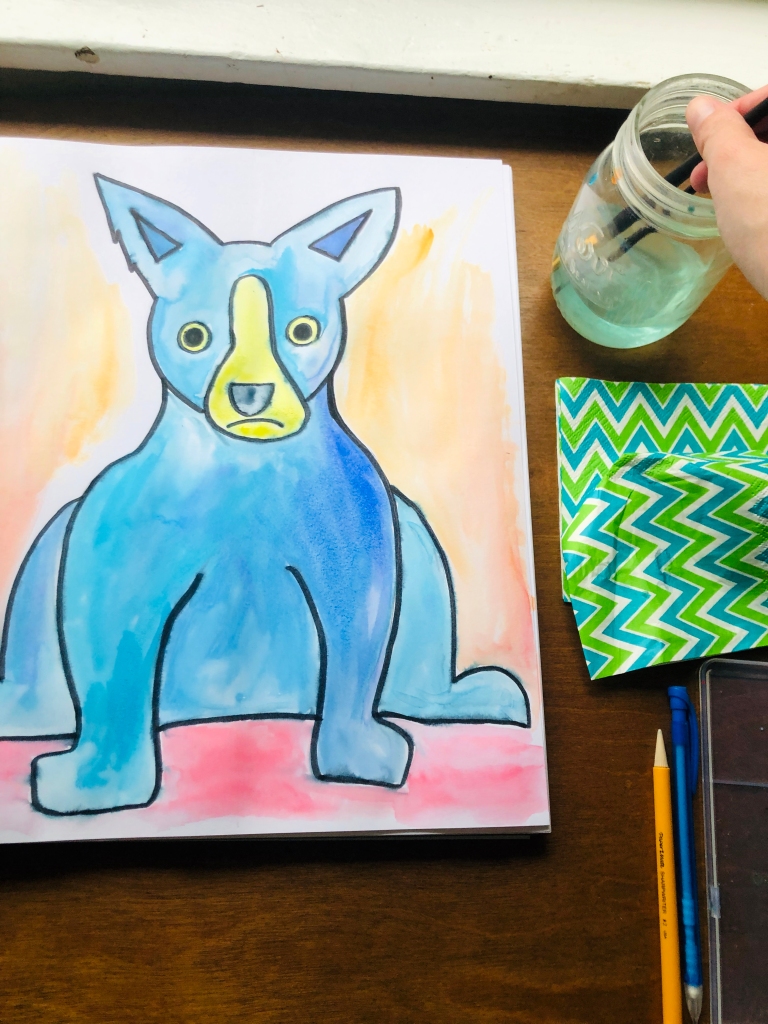
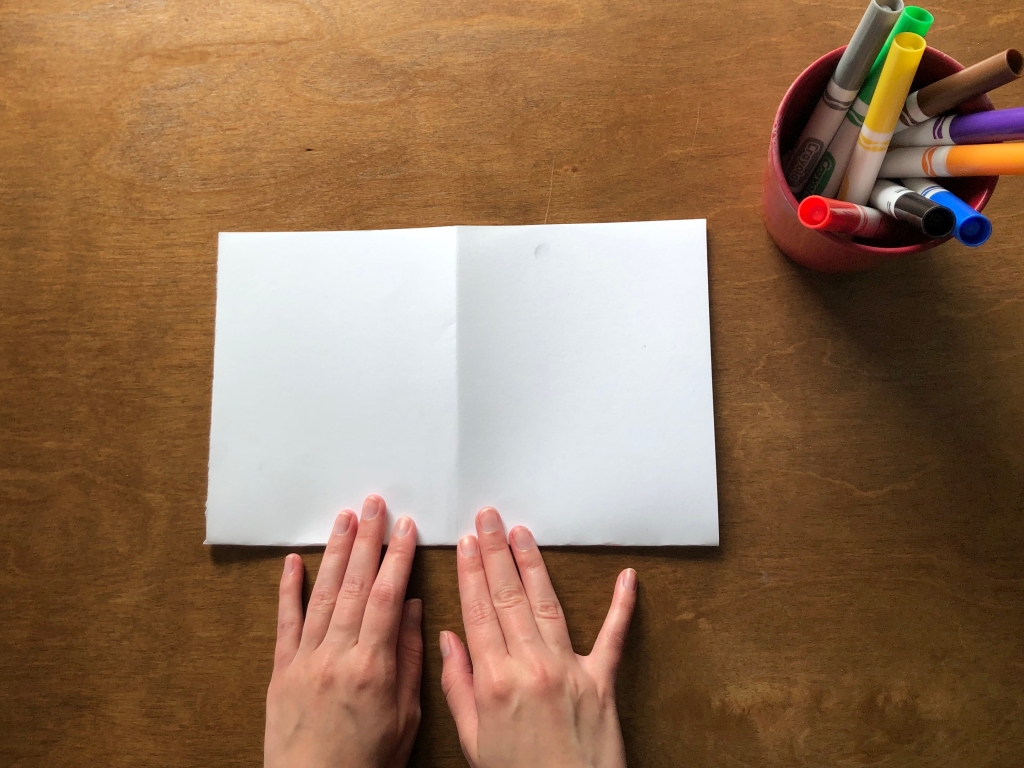
Grab your supplies and let’s get drawing!
Look at the New York City skyline inspiration images and choose a couple of buildings that you would like to draw.


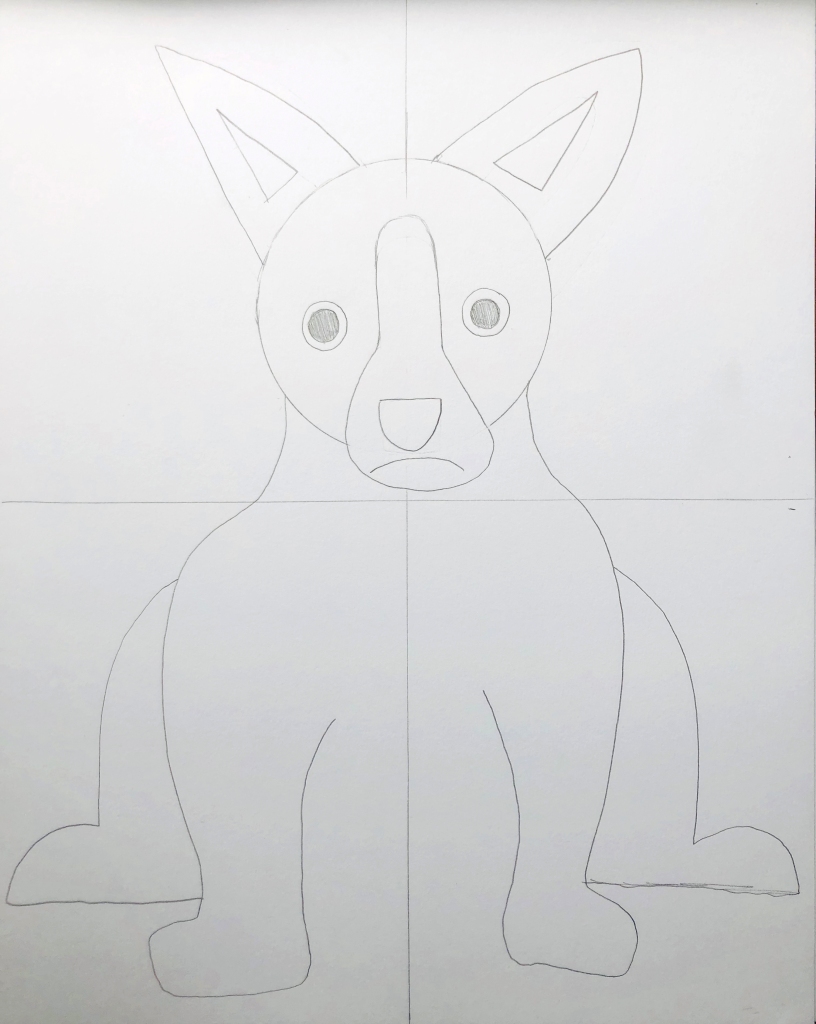
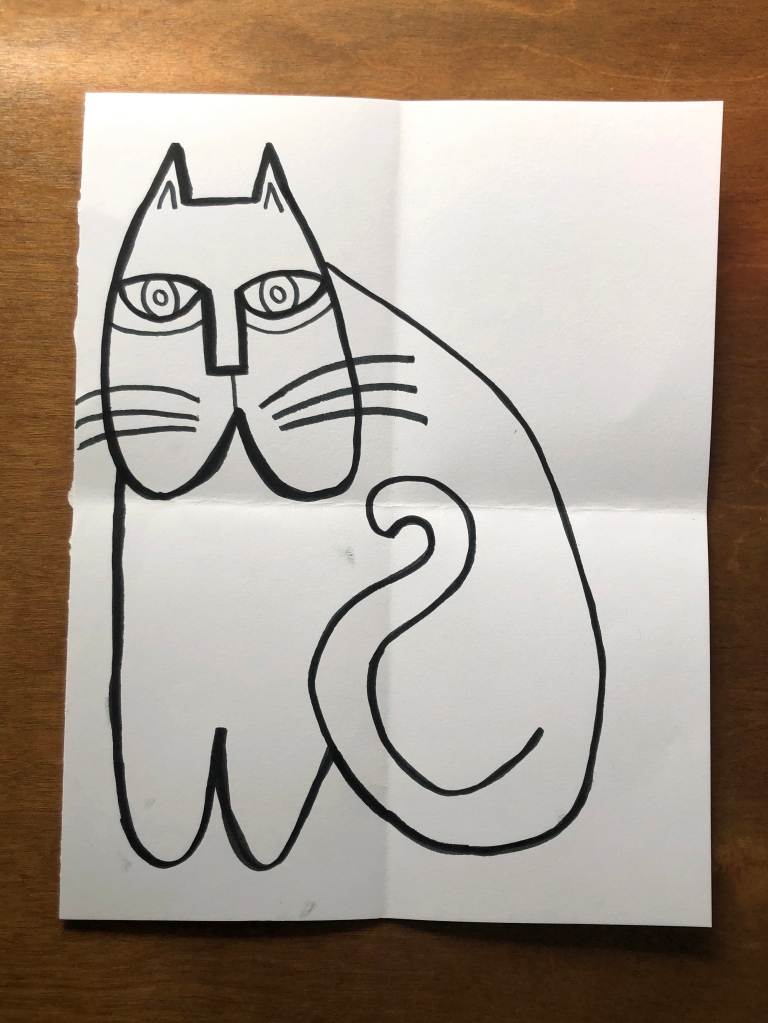
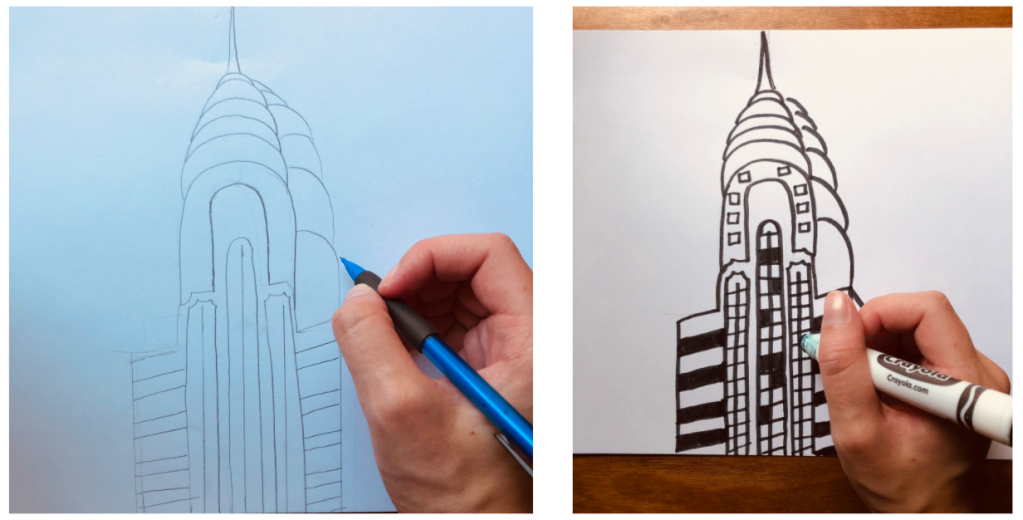
Using pencil, start by sketching two to three skyscraper buildings onto your colored piece of paper. Plan your composition with space for the cutout skyscraper that will be glued on later. Draw all of the windows onto your skyscraper buildings, too.

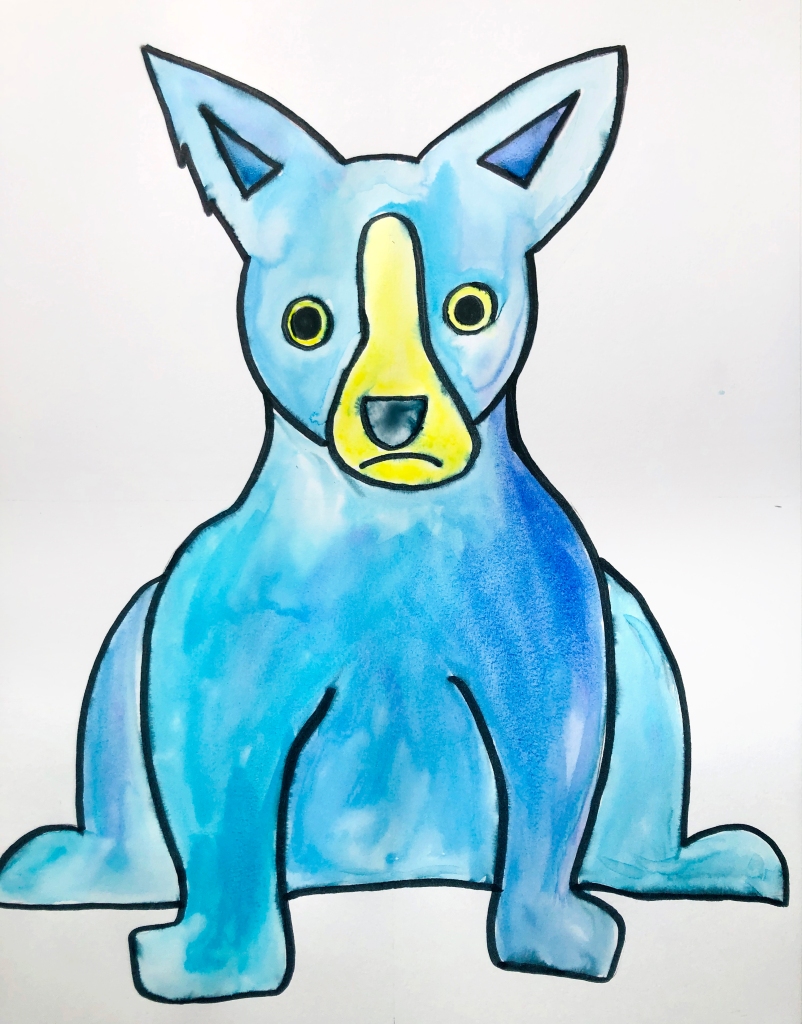
Using a black marker, darken your skyscraper contour lines.

On a piece of white paper, draw your final skyscraper with windows, making sure that it will fit between your others when glued onto the page.
Cut and glue your white skyscraper onto the colored piece of paper.

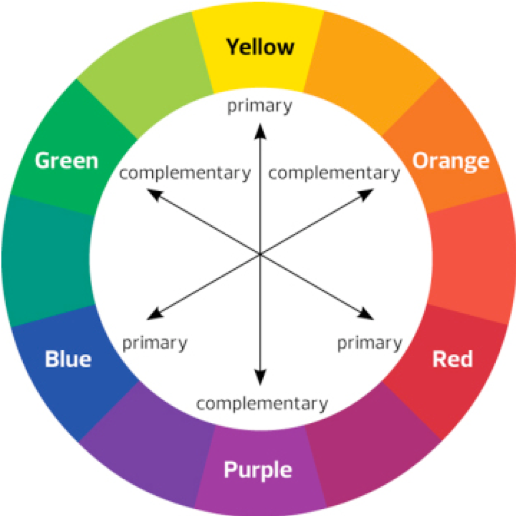
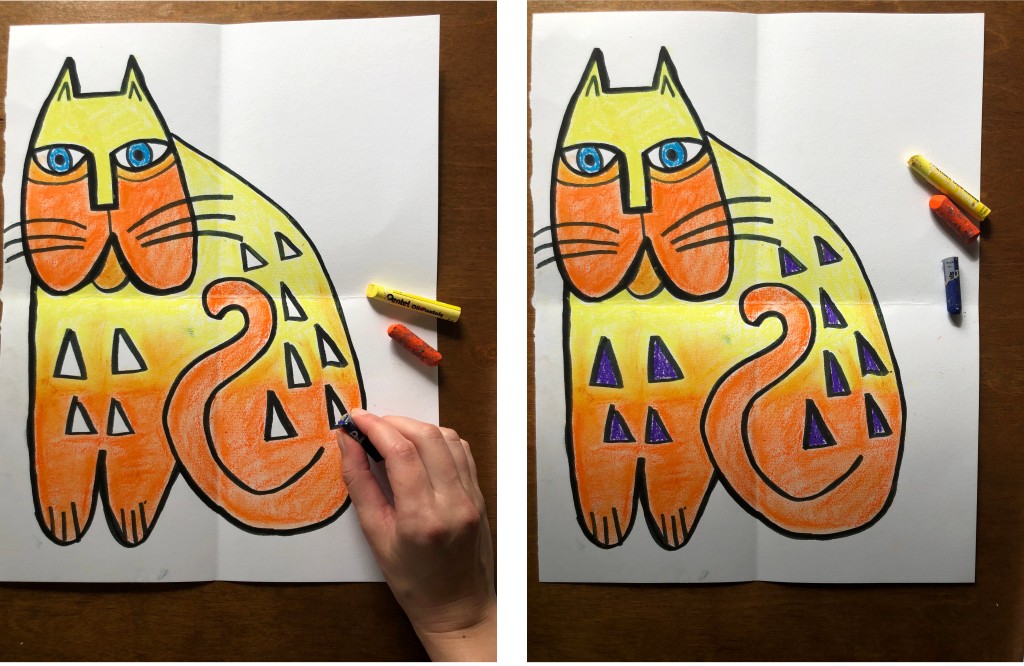
Add any final touches to your unique cityscape! Think about using varying shapes for the windows on your skyscrapers, such as circles, triangles, or even octagons!

The Skyscraper Line Drawing!